|
PHOTO SHOOTS
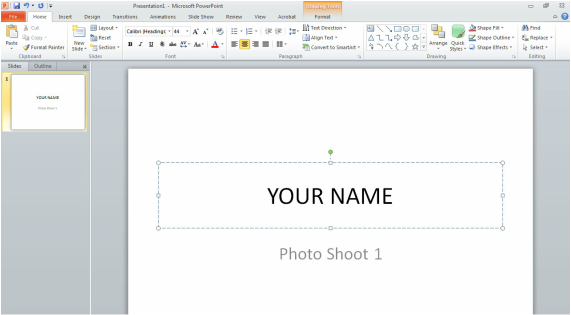
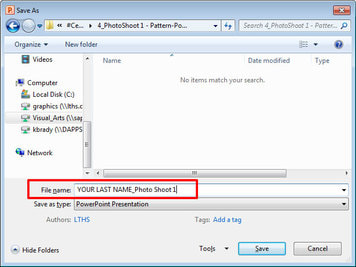
During this semester students MUST take PHOTOS outside of school! These photo shoots are required to learn digital photography (using a camera, photo composition, photo editing, etc.) DIRECTIONS Take your required number of digital photographs per project. Download the photos from your camera or film card to your student folder. I suggest making folders labeling each photo shoot and saving the photos to the appropriate folder when you download. (ex. Pattern, Chicago, Abstraction, etc.) You will be printing out a contact sheet to show that you have shot the required number of photos for the assignment. The contact sheet will be turned in to the class bin with your name and the appropriate number of photos highlighted/circled that will be edited. Image editing tools in Photoshop, BeFunky, or PicMonkey can be used to further correct, crop, or enhance your photos before you put them into PowerPoint, Google Presentation or SlideRocket through Google Apps. After you have corrected, cropped, and enhanced the required separate shots for the assignment, put them into the slide presentation. The first slide (title slide) should have YOUR NAME & “Photo Shoot 1, Photo Shoot 2, etc.". Pick a white or black color background to present your photos in. Make sure you have the correct number of slides in your slide presentation (more if you like). Save the assignment YOUR LAST NAME_Photo Shoot # in your Digital Photography Z: drive student folder and also upload to the > Specific Photo Shoot folder on the V: drive > Digital Photo Thomas 2017 |
|
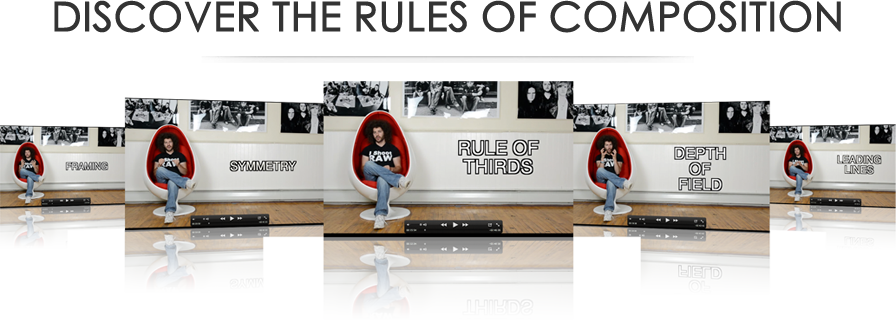
PHOTO SHOOT #1 - Rules of Composition |
PHOTO SHOOT #2 - ABSTRACTION |
|

|
PHOTOSHOOT #3 - LIGHT PAINTING |
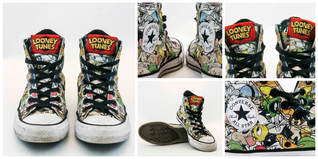
PHOTOSHOOT #4 - PRODUCT PHOTOGRAPHY |

|
Light Painting
Examples |
|
PHOTO SHOOT #5 - PORTRAITS |
PHOTO SHOOT #6 - MACRO PHOTOGRAPHY |

|

|
PHOTO SHOOT - CHICAGO FIELD TRIP
|
EXTRA CREDIT PHOTO SHOOT - PATTERN
|

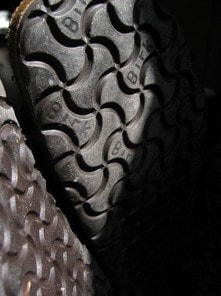
EXTRA CREDIT PHOTO SHOOT - TEXTURE |

|
