7-Point System for Editing Photos (in Camera Raw)
The 7-Point System is really just for editing photos in Adobe Camera RAW. We will only do 6-Points, because the first point only applies to RAW files. We only will be working with JPEG files in our class.
You will do pretty much the same 6 things to your images. Some images might not even need all 6 editing points, only some of them.
Below is a list of the 6-Points will cover when editing photos in Camera Raw
Click Sign in
The 7-Point System is really just for editing photos in Adobe Camera RAW. We will only do 6-Points, because the first point only applies to RAW files. We only will be working with JPEG files in our class.
You will do pretty much the same 6 things to your images. Some images might not even need all 6 editing points, only some of them.
Below is a list of the 6-Points will cover when editing photos in Camera Raw
- Color - The color has to be right. White Balance
- Tone - We have to get the exposure where you want it, as well as the overall tone of the image. Tweak the Exposure and Contrast
- Problems - We need to know how to fix problems that pop up in our images. Highlights and Shadows
- Flat Photos - We need to know how to fix flat-looking photos. Blacks and Whites
- Details - Increase the details and color. Clarity and Vibrance
- Selective Adjustments - Now were going to affect just a part of the photo. Adjustment Brush
Click Sign in

Enter the following:
- kbrady
- LTHSDigitalPhoto
|
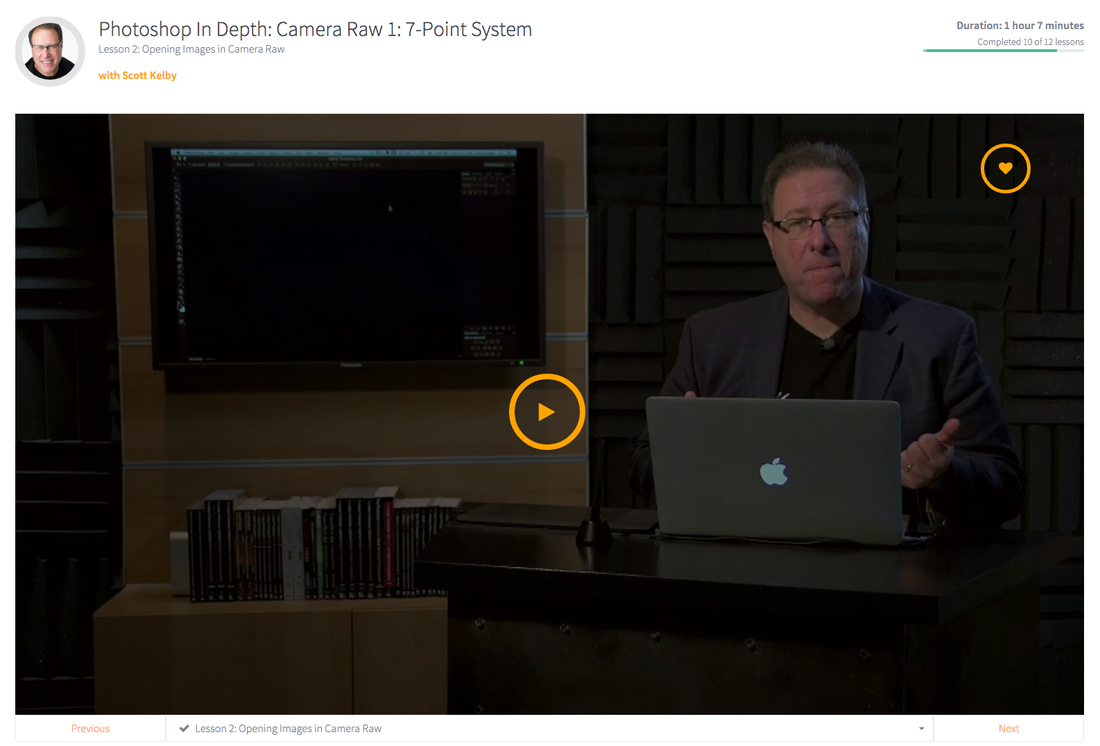
Opening Photos in Camera Raw
Before we can begin the 6-Points of editing photos, we need to learn how to open them in Camera Raw. Click on the video link to the right to watch, and then come back to this page and watch the next video. Continue this process, watching all videos, then you will work on a DEMO image yourself. |
|
|
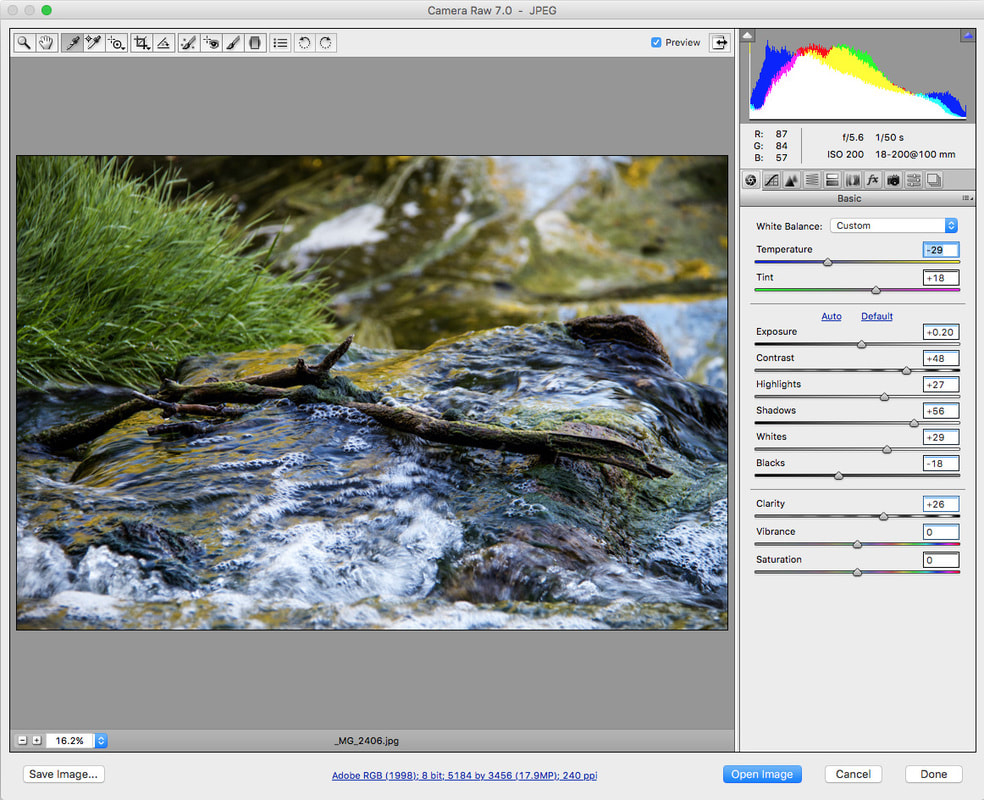
Step 1
Fix the White Balance White Balance is important to fix your white balance first because it changes your exposure also I find it hard to work on an image or your color is way off if you fix this first many of your problems will go away. My favorite method to fix white balance is to use the White Balance Selector tool (eyedropper). Ideally you want to click on something that is light gray. If there's nothing grey, pick something neutral. |

|
|
Step 2
Tweak the Exposure & Contrast The Exposure slider adjusts the exposure overall. Don't overthink this slider you are just going to make the image brighter or darker. If you drag it to the left it's darker and if you drag it to the right it's brighter. The biggest thing I see in images today for post-processing is that the images are flat. Go to the Contrast slider and drag it to the right if you're exposure is pretty close. This is your secret to increasing the overall look of the image. |

|
|
Step 3
Fix Shadow and Highlight Problems Shadows If your image has some areas that are too dark you may need to fix them though the Shadows Slider.
Highlights There are times that I use the Highlights Slider.
|
|
|
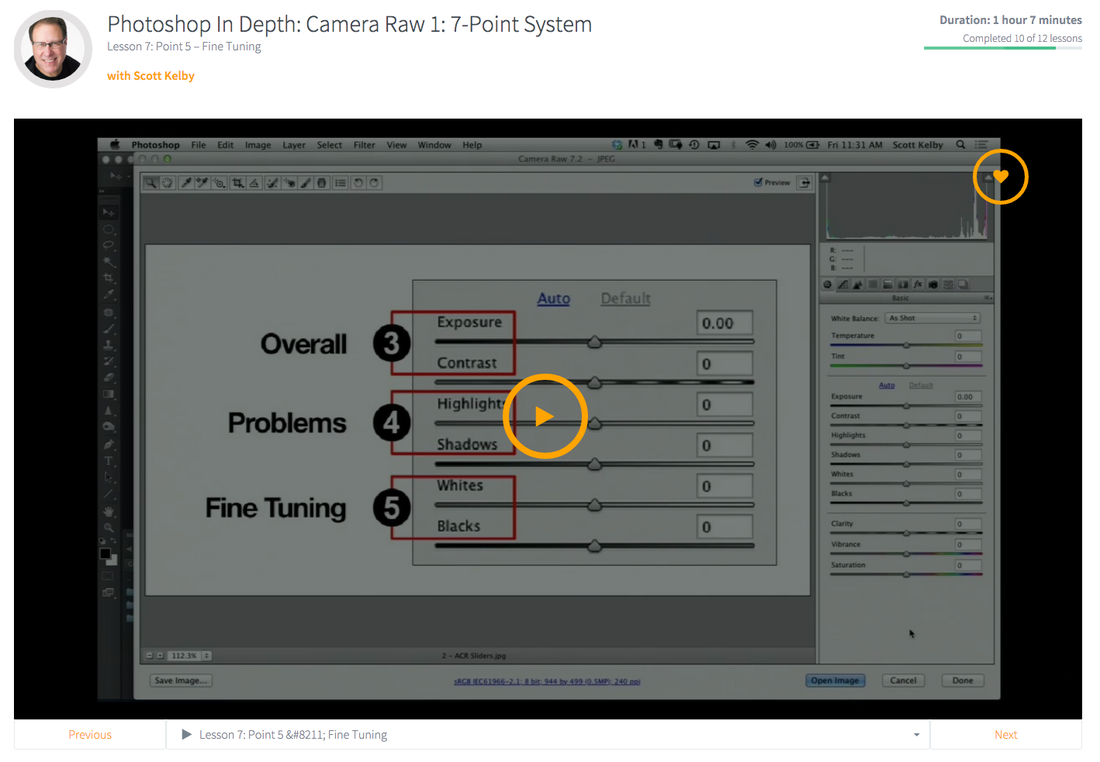
Step 4
Fine Tuning Blacks & Whites Blacks When the image is washed out (very dull) and flat looking, the Blacks Slider can bring back color and detail. Whites Adjust the Whites Slider in the image to increase the brightest highlights in the photo. |
|
|
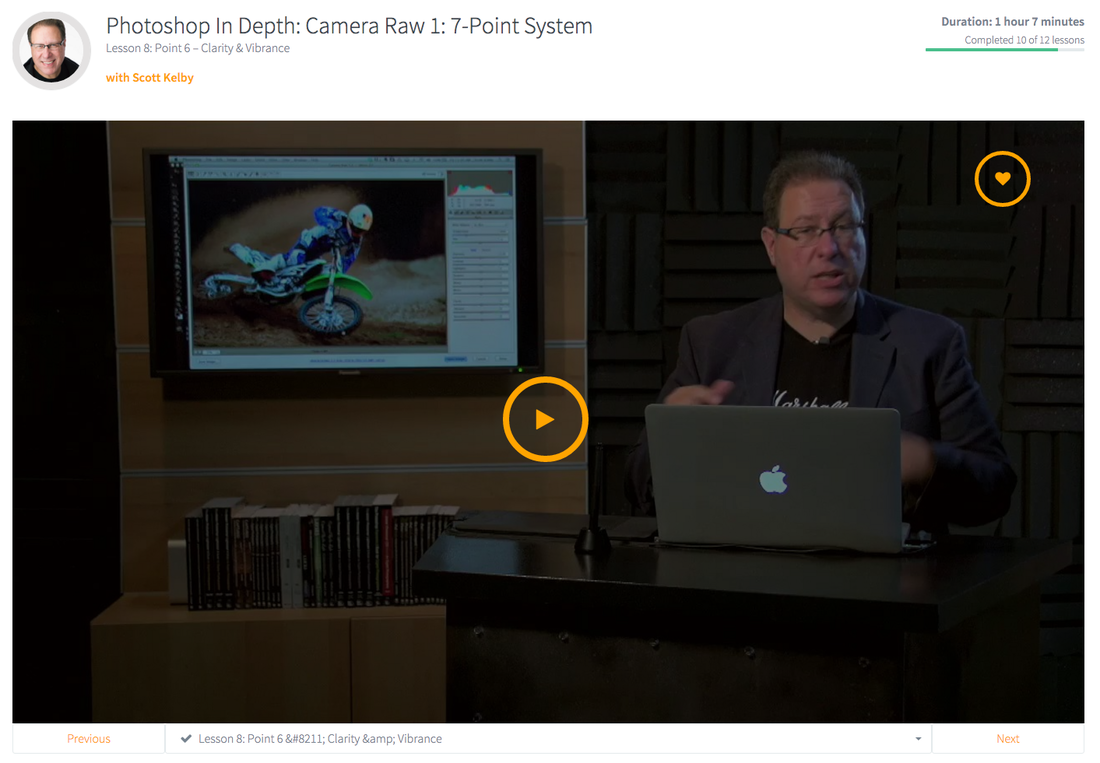
Step 5
Add Clarity and Vibrance The Clarity Slider looks great on images with texture looks great in pictures of guys, buildings, anything with some texture. This would NOT be good to add to photos of subjects that are supposed to be soft (females, furry animals, etc.) |
|
|
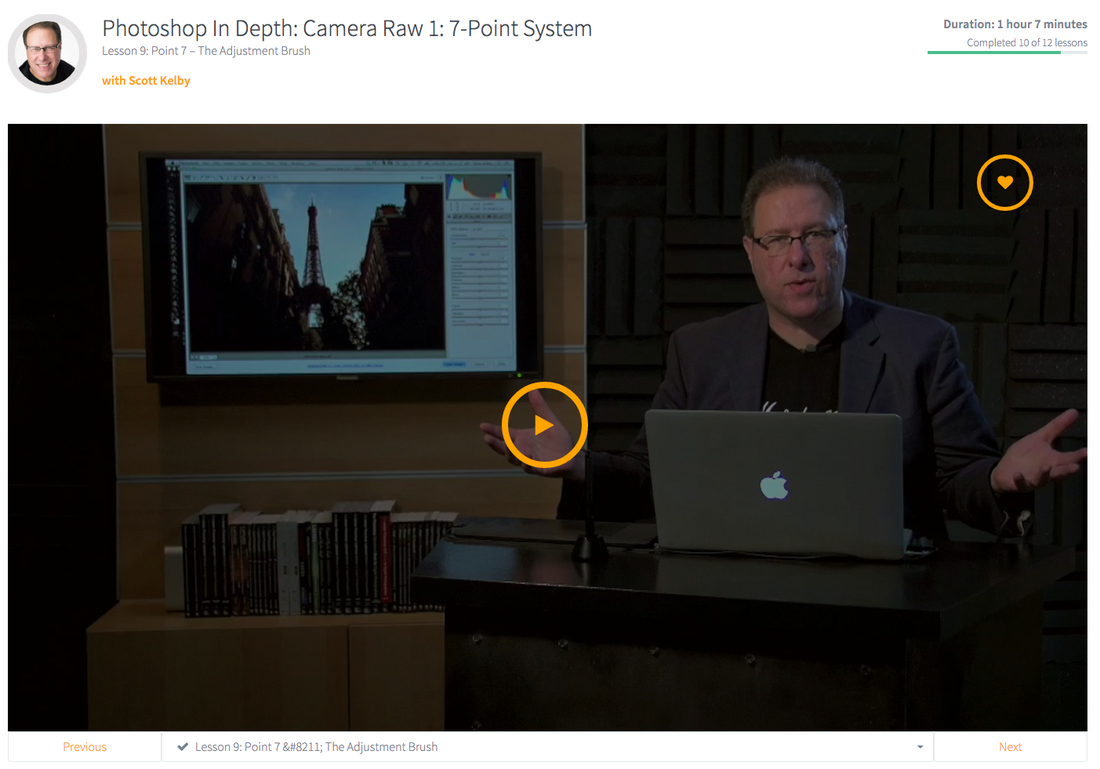
Step 6
Adjustment Brush - Selective Areas Everything we have done so far has changed the whole photo. Look for parts of the photo that need something. Is an area too dark, but another area too light? Now we want to affect just one part so we need the Adjustment Brush. One of the oldest least taught and most important things to do to a photograph is Dodging and Burning. Dodging is making the image brighter, and burning is making the image darker. |
|
Example 6-Point System Edited Photo in Camera Raw

ORIGINAL
|

EDITED
|